Craft Stick Owls
Some crafts are useful beyond just their original craft date! These short o craft stick owls are not only fun to make as a craft, but they also make super-adorable bookmarks that kids can use to keep their place in their books. You could also add a magnet to the back of the owls and transform them into fridge magnets! Use this craft stick owl bookmark craft in an owl thematic unit, when studying the letter Short “O” or when learning about birds! Kids will love how they can transform a simple craft stick into a cute owl! You don’t have to stick to the “owl” colors we used either, these can be spiced up with bright colors for even more fun! Before we begin, here are a few books that are fun to read when teaching about owls…(or, when teaching about the short o sound).
Owl MoonAn Octopus Is Amazing (Let’s-Read-and-Find-Out Science, Stage 2)
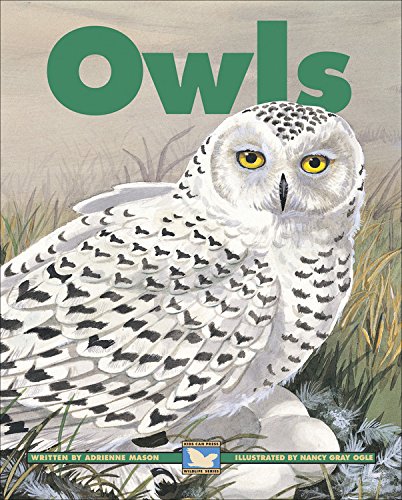
Owls (Kids Can Press Wildlife Series)
Children’s Book: The Dancing Owl: A Humorous Children’s Book for Kids 4-8 Years Old (The Tree Series 2)
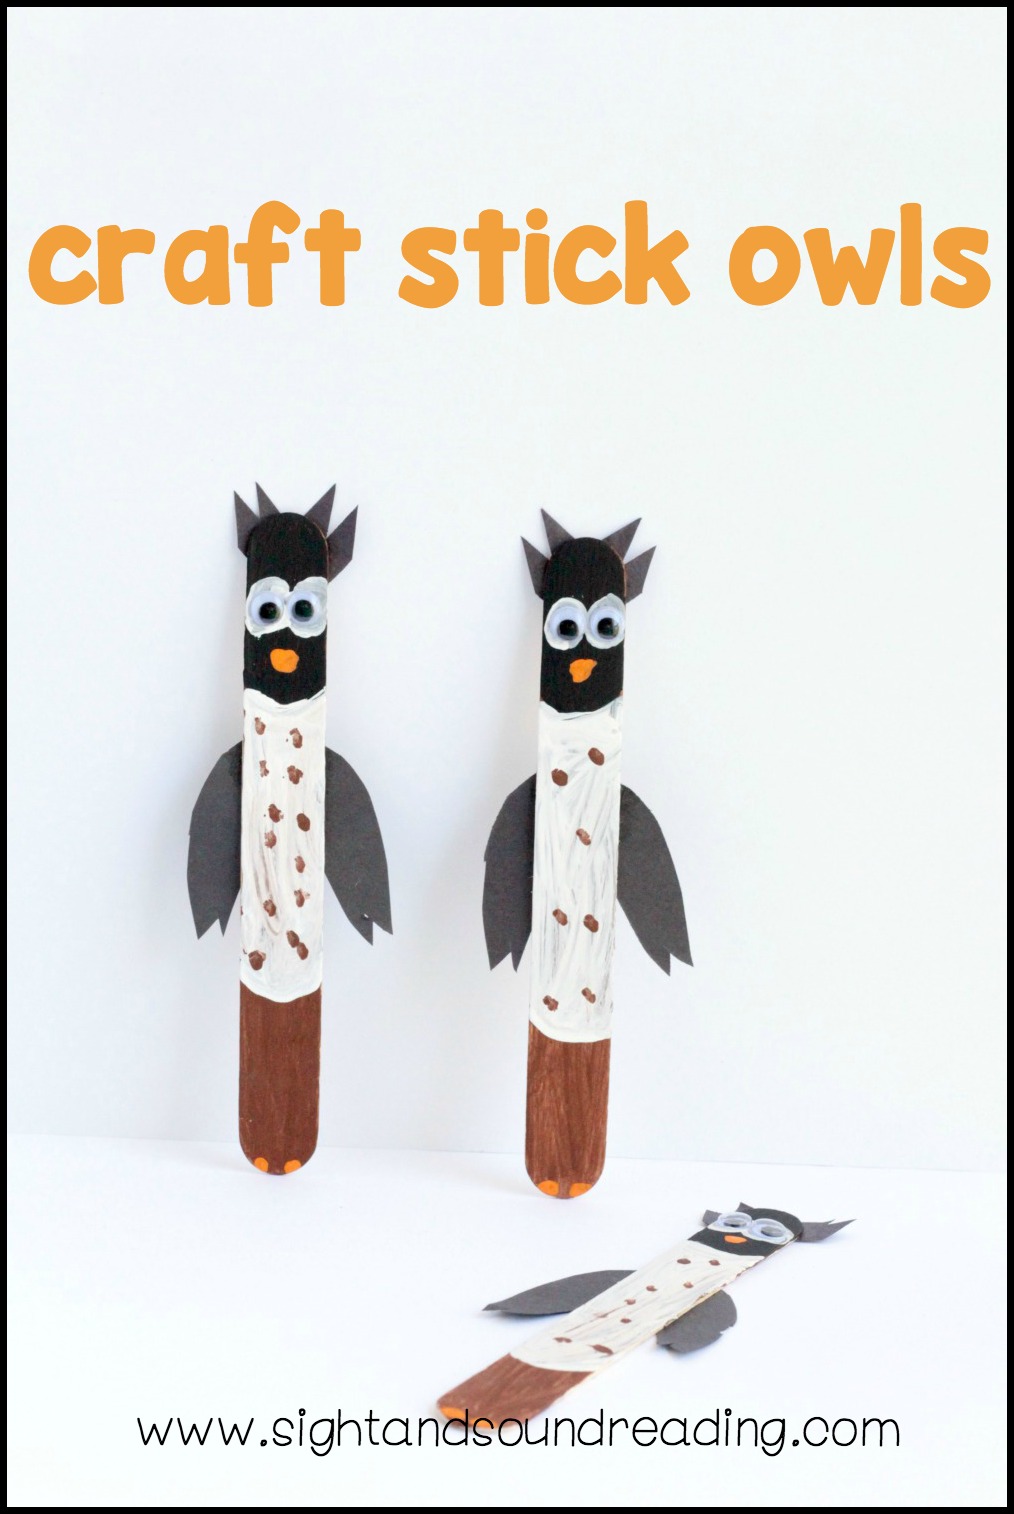
What you’ll need to make the craft stick owls:< ul>
- Craft sticks (1 per child)
- Washable paint
- Paintbrushes
- Googly eyes (2 per owl)
- Glue sticks
- Black construction paper
- First, paint the entire stick brown and let dry.
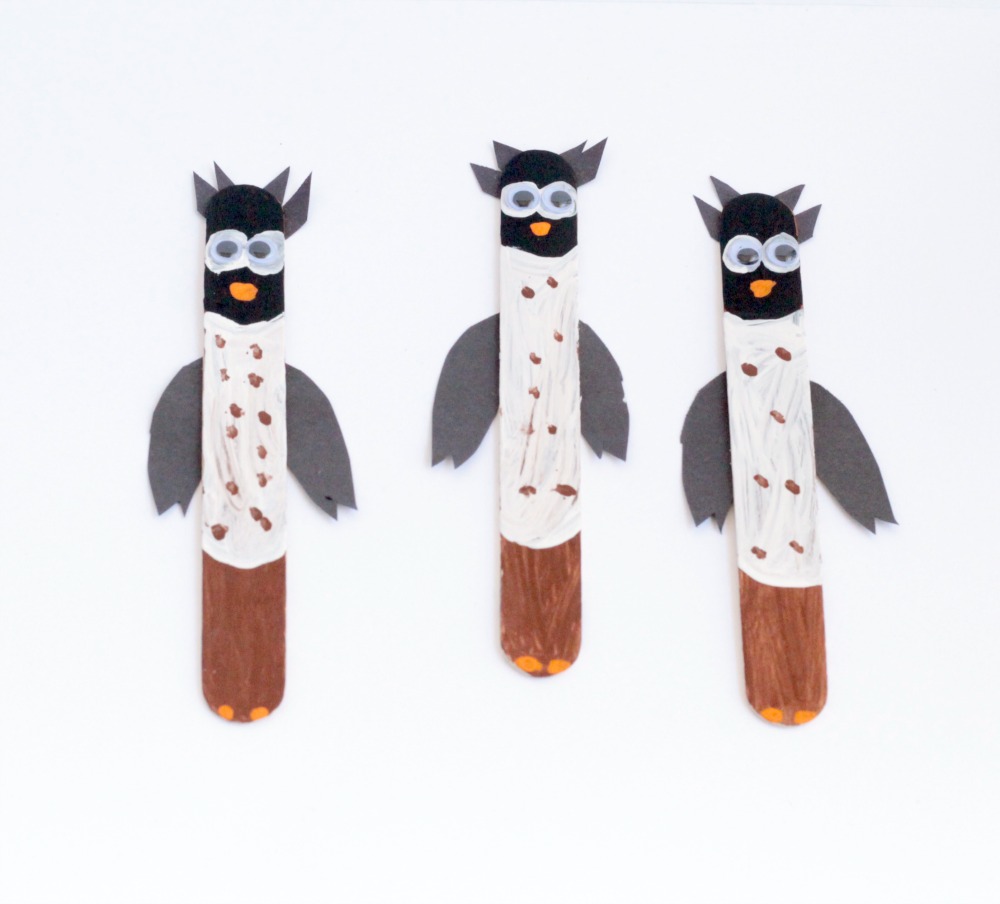
- Once the stick dries, paint the top third black and the middle third white. Let the paint dry completely.
- Paint two large circles on the owl in the black section. This will become the owl’s face.
- Paint an orange beak below the eyes and two orange feet onto the bottom of the owl.
- Paint small black dots in the white part of the owl to make speckled feathers.
- While the paint dries, cut out your wings and ear tufts from black construction paper. Use the picture below as a guide for what your wings and ear tufts should look like.
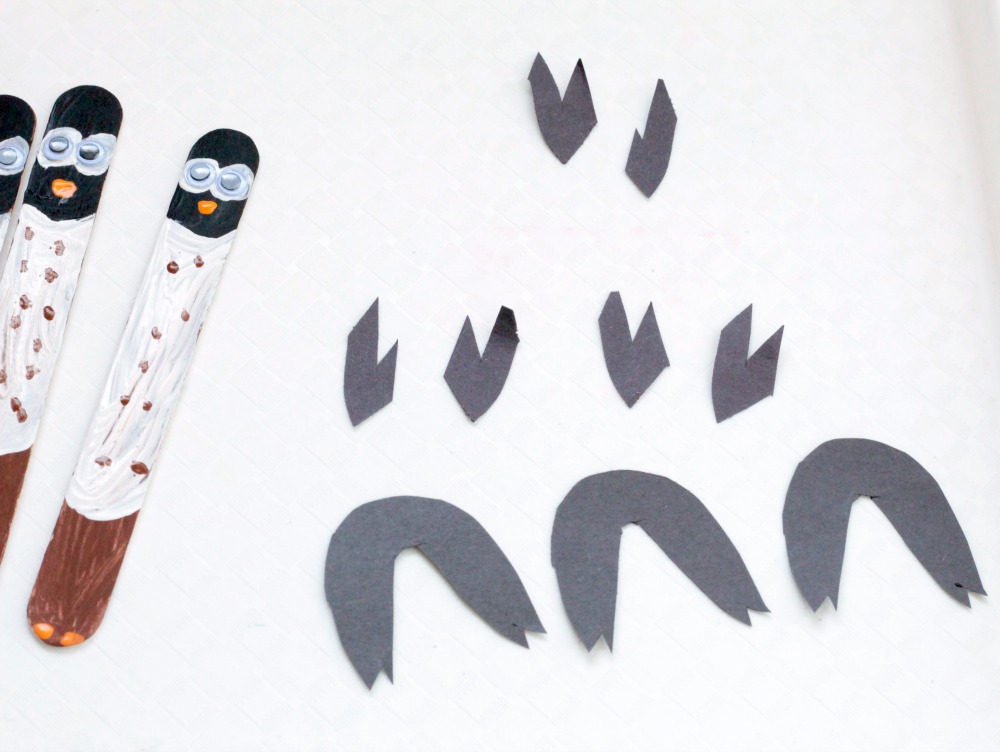
- Glue the wings and ear tufts to the back of the owl once the paint is dry.
Glue two googly eyes to the center of the white circles on the owl’s head.

When the glue is dry, the owls are ready to act as bookmarks or magnets!
If you liked this post, you will also like:


