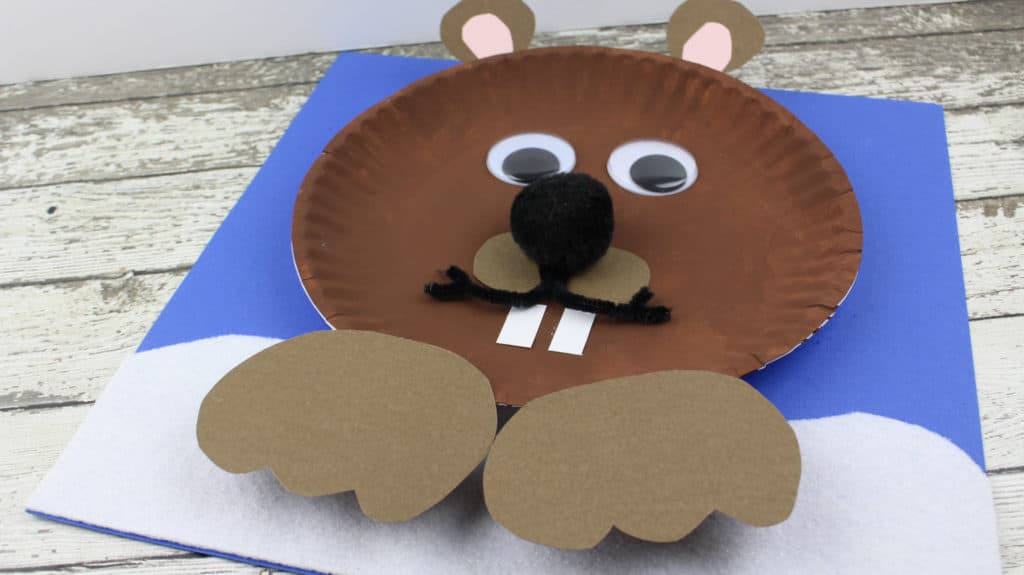
I love Groundhog’s Day!!! If you love crafts, it will be great to do some crafty things to celebrate the groundhog. Today, I would like to share a groundhog day paper plate craft
Before we do the craft, let’s check out some books related to the Groundhog.
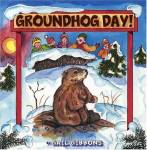 Groundhog Day!
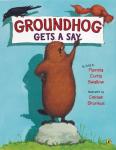 Groundhog Gets a Say
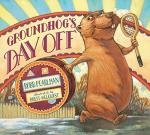 Groundhog’s Day Off
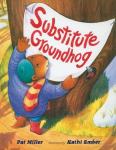 Substitute Groundhog
 Who Will See Their Shadows This Year?
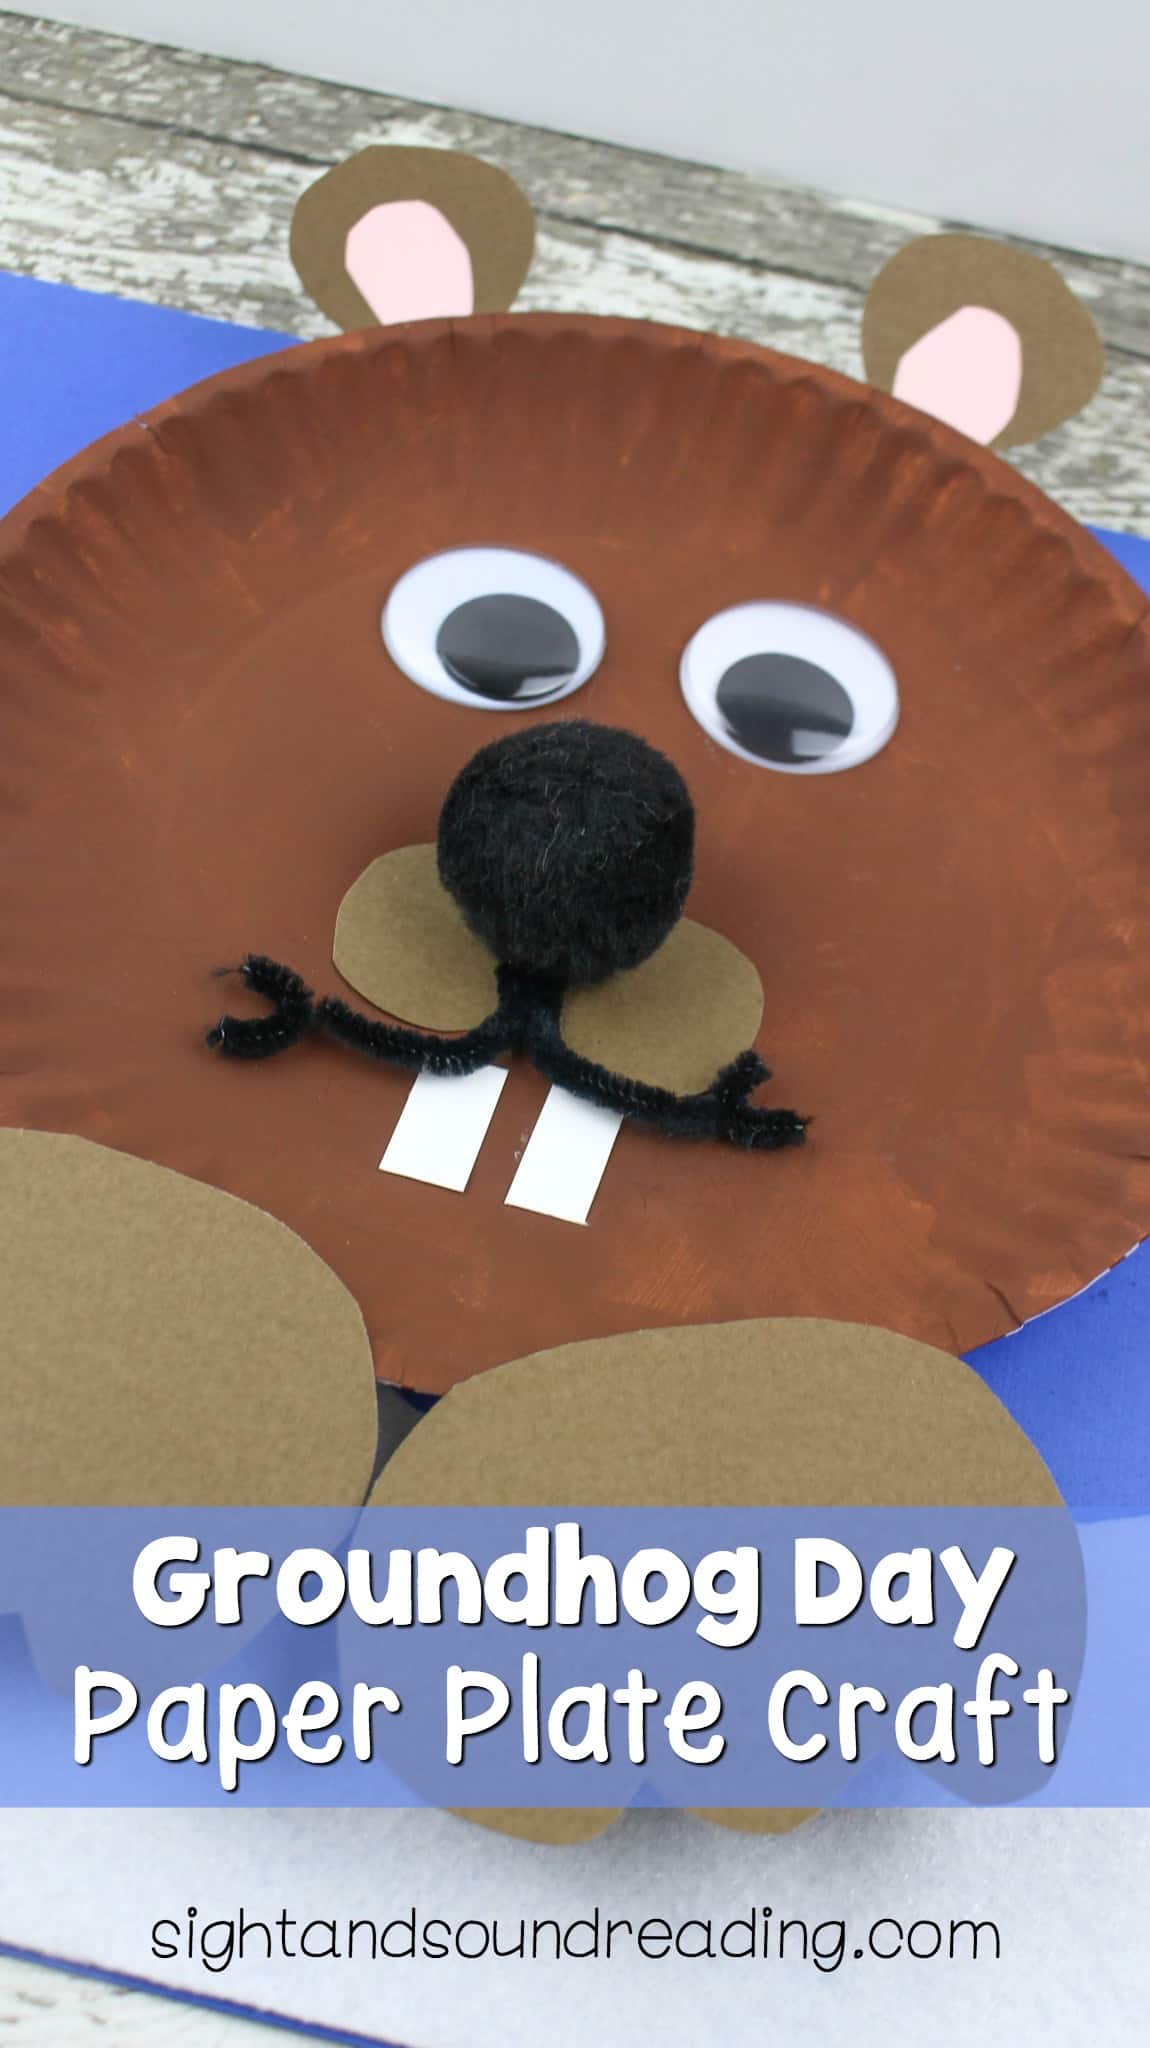
Groundhog Day Paper Plate Craft
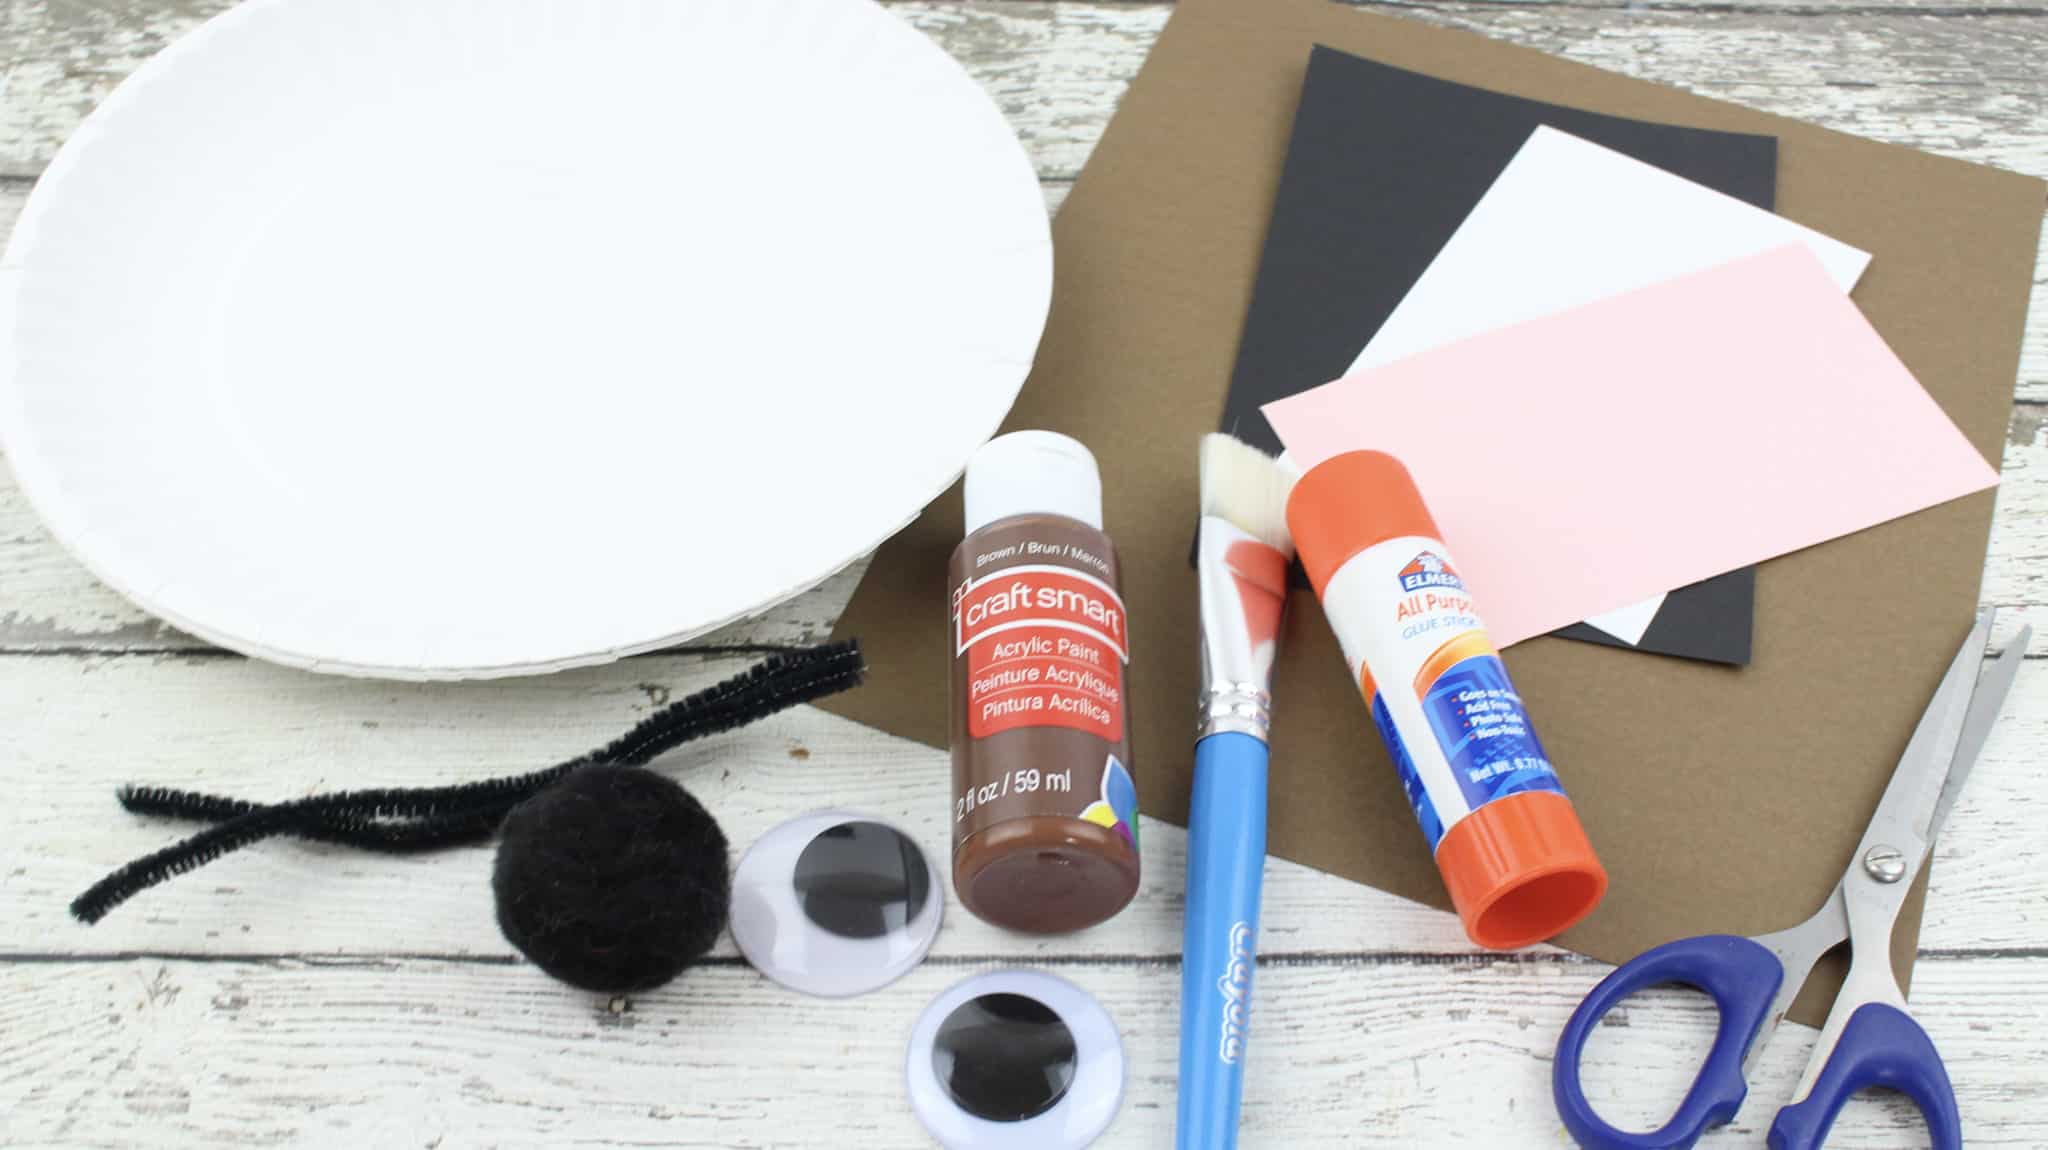
SUPPLIES NEEDED
- 1 large white paper plate
- Paintbrush
- Glue Stick
- Scissors
- Brown paint
- Construction paper in brown, pink and white
- 2 large googly eyes
- 1 medium black pom pom
- 1 black pipe cleaner
Preparation Direction
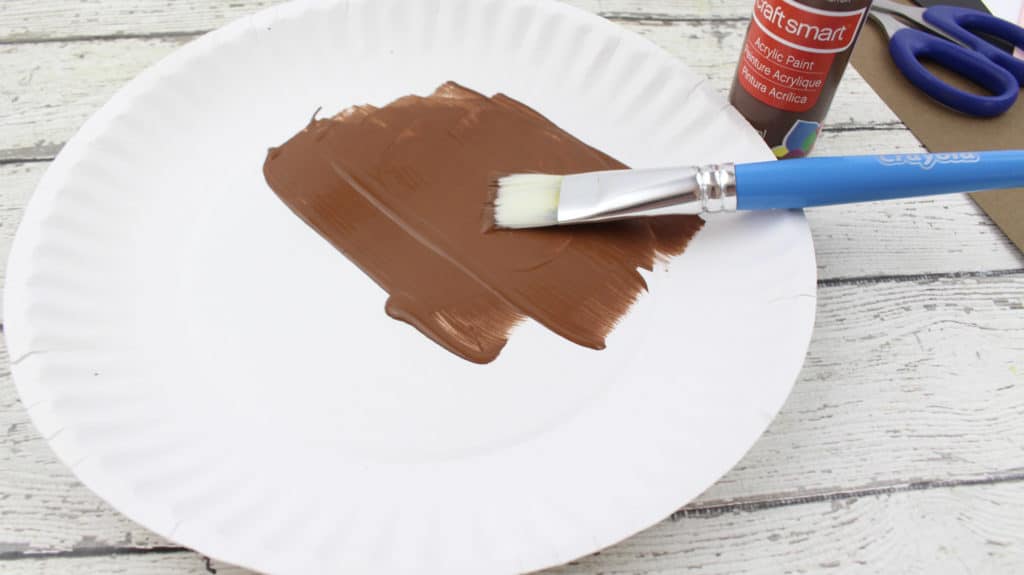
1. Using the brown paint and a paintbrush, paint the large white paper plate the color brown. Set aside to dry.
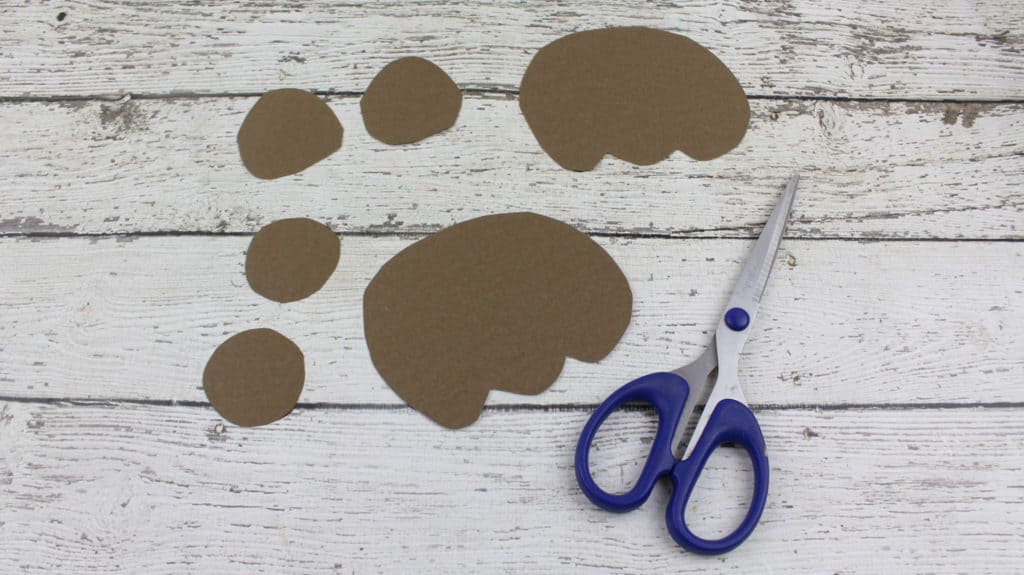
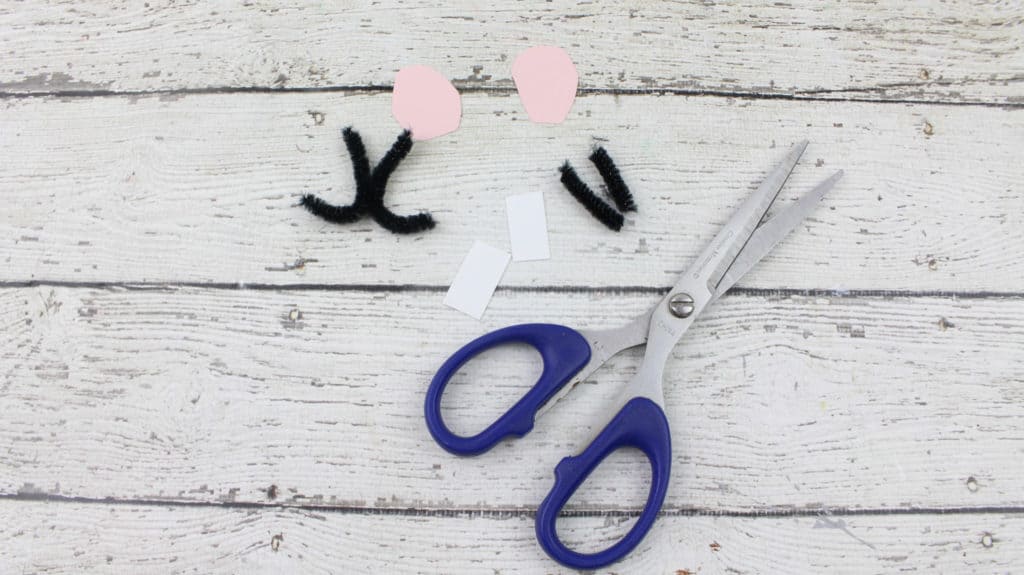
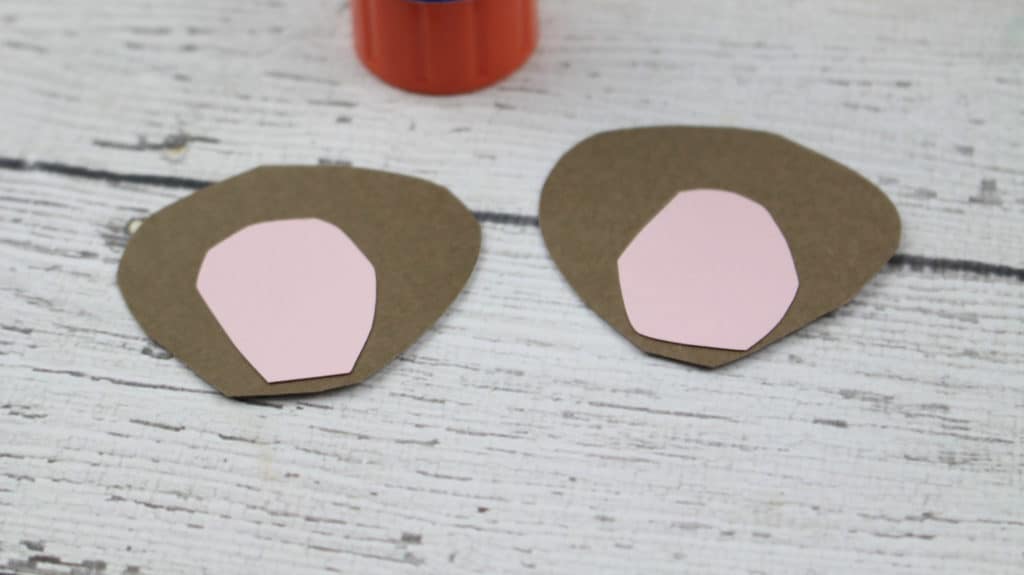
2. From the brown construction paper: Cut 2 small circles (the size of a nickel) and 2 circles (the size of a quarter) for the ears. Cut out 2 paws that are 4 inches long by 3 inches wide and have 3 “toes” each.
3. From the pink construction paper, cut out 2 circles the size of a nickel. These will be the inner ears.
4. From the white construction paper cut out two teeth, the size of chicklets candies.
5. Cut the following size pieces from the black pipe cleaner: two (2″) inch pieces and two (1/2″) inch pieces.
Assembly Direction
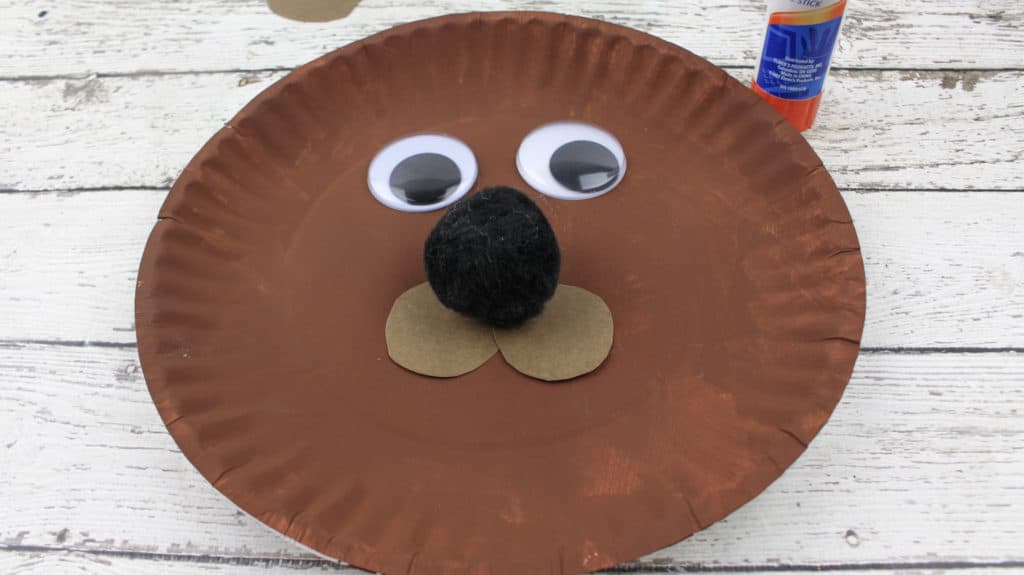
1. Apply glue to the back of the two googly eyes and affix to the paper plate.
2. For the nose, generously apply glue to the back of the pom-pom and attach to the paper plate.
3. Apply glue to the back of the two nickel-size brown circles and place underneath the pom pom nose, side by side.
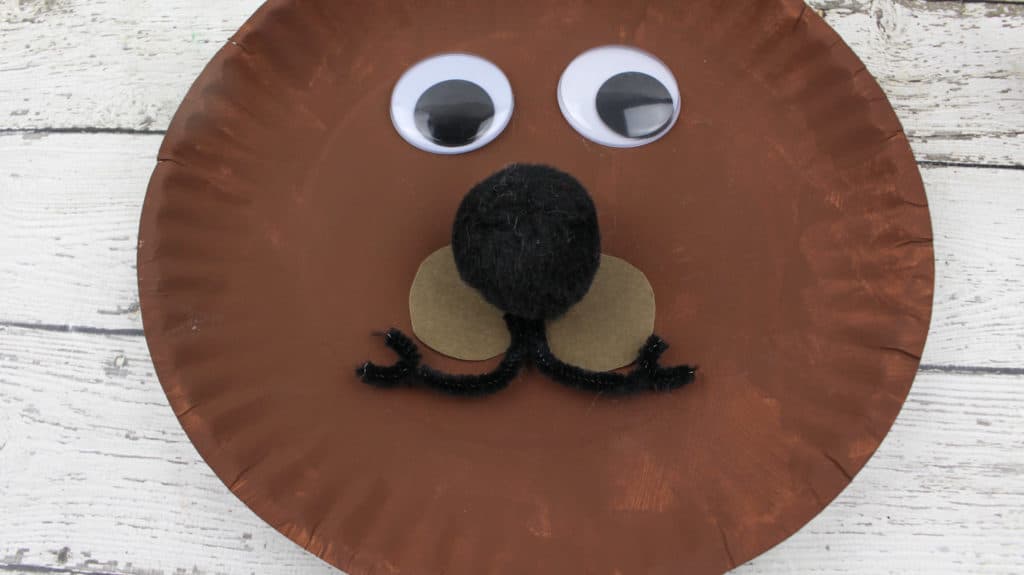
4. For the smile, apply glue to one of the 2 inch pipe cleaners. Affix one end of the pipe cleaner directly underneath the nose and then bend it towards the left like a backwards “L.” Apply glue to the other 2 inch pipe cleaner and place it directly underneath the nose and then bend it towards the right in a “L” shape. Apply glue to the smaller pipe cleaner pieces and attached at the end of each smile.
5. Apply glue to the back of both “teeth” and affix directly underneath the smile, about 1/4 of an inch apart from each other.
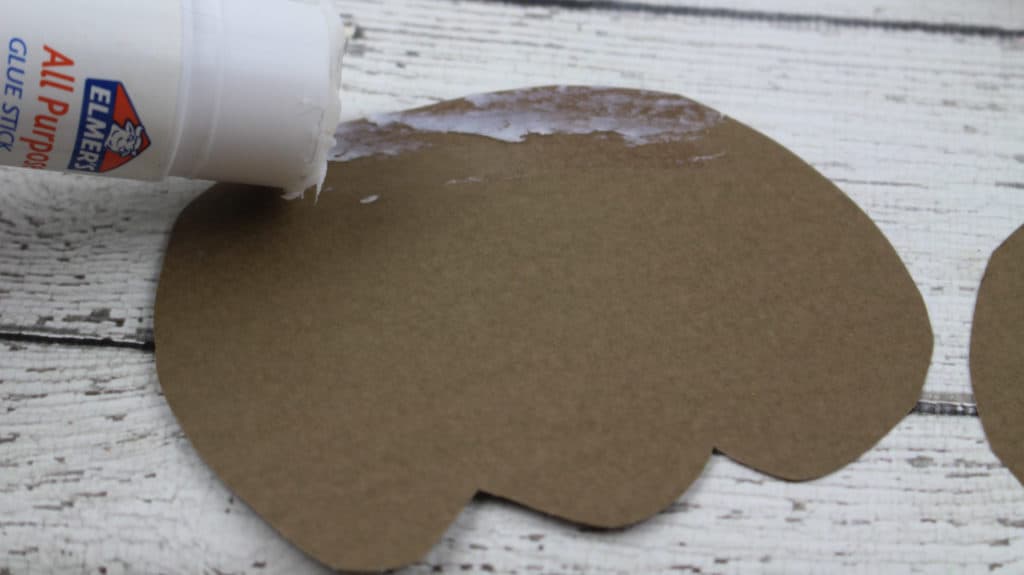
6. Apply glue to the back of both paws and attach, side by side, to the bottom of the plate.
7. Glue the 2 pink circles on top of the “ears.” Glue both ears onto the back of the paper plate, up towards the top. Hold in place for 10-15 seconds to help the glue adhere.
8. HAPPY GROUNDHOG DAY!
If you like this post, you might like:
 Groundhog Gets a Say
 Groundhog’s Day Off
 Substitute Groundhog
 Who Will See Their Shadows This Year?



 Meeghan Karle Mousaw and Madreen Karle
I really enjoy all views I have seen of your work, I pass it on to my Kindergarten classes. Teachers enjoy step by step very easy instructions that you send in.
Awesome! I am so glad you like it 🙂 Have fun making the groundhog!
Very nice and easy for k-kids.
Thanks for the idea and instructions
You are so welcome! Have fun!